TUTORIAL 652
- Prep Time
- Cook TIme
- Total Time
- No of Servings
- 45
- 15
- 60
- 1
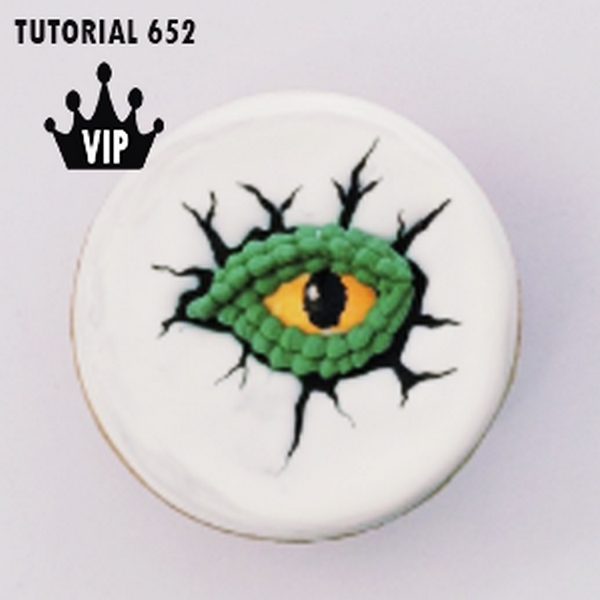
Hello girls, today we are going to make a very simple cookie!! Guess what it is?
I’m going to give you the template so you can adjust it to the size of your preference and print, then make your dough, bake, let it cool and that’s it, start decorating with royal icing.
Tools:
- Basic instruments:
- Rolling pin
- Guides so that your cookie comes out straight.
- Parchment paper or a silicone mat
- Knife or exact
- Baking trays
- Cookie Dough Course
- Royal Icing Course
- How to transfer image onto your cookie
- Previously baked and cooled cookie to start decorating.
- Image that inspired me to do the class. (It is attached and you can adjust it to the size of your preference, (MATERIAL ONLY FOR THE STUDENT, PROFIT FROM THE IMAGE IS PROHIBITED)
- Bowls for you to make different consistencies for your royal icing
- Spatula
- Pastry bags or sleeves
- Wet towel (always work with your clean towel)
- Scissors (sharp otherwise they won’t leave a perfect line on your bags)
- Toothpicks or scribe tool
- Brown edible ink pen. (for you to draw, if you don’t have one you can use a non-toxic pencil)
- Glass of water
- Brush (I have the basic set of brushes, 00, 000, round #1, round #3, round #5, Flat)
Now if you already have everything, I recommend watching the entire video first before making your cookies, some other materials may be mentioned in the video and I may not write them down here, LIKE THE ROYAL ICING CONSISTENCIES AND COLORS 🙂
You can buy the STL file here
You can buy the Cookie Cutter here
You can get access to the template and full video here
Once you have your cookies cold and ready to start decorating, then let’s watch the video replay!!